
From your main dashboard, locate the 2nd blue tile in the middle of your screen.
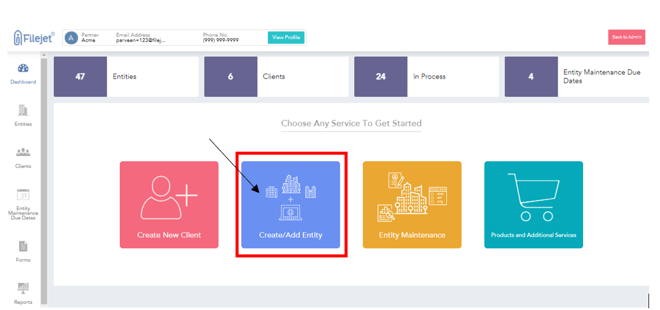
Click on the blue tile to begin. You will open on the “Set Up Entity” landing page.
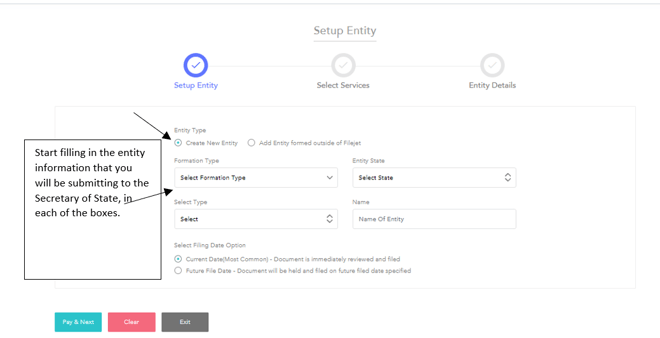
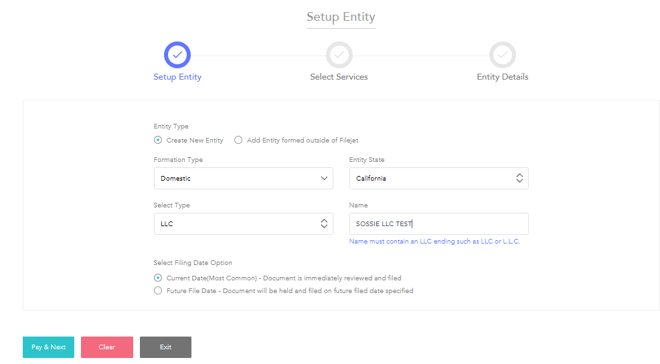
Begin to fill in the information that will appear on the articles and submit to the SOS.
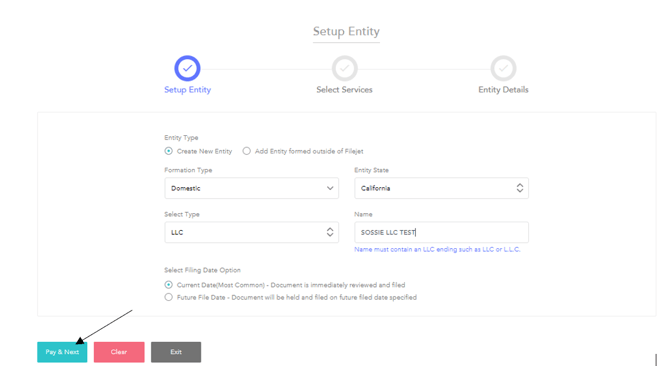
When you have completed filling out the boxes, click on the teal button located in the left bottom corner of the screen.
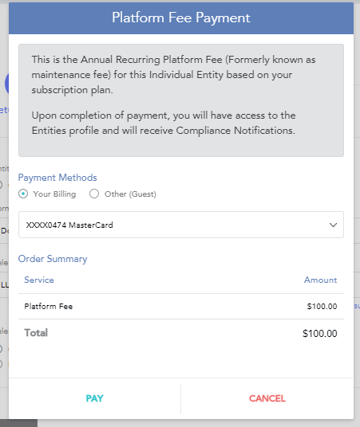
The system will direct you to the Platform Fee Payment screen. This fee allows Filejet to maintain the entities recurring maintenance each year(not optional). This fee must be paid in order to continue processing your entity filing.
After the payment has been processed, you will be directed to the “Select Services” page. This is where you will choose the filing options for the entity plus any optional services you would like to include with your filing.
Your portal is set up with special bundles for California entities. All services you normally get are included in the bundle, with one easy click.
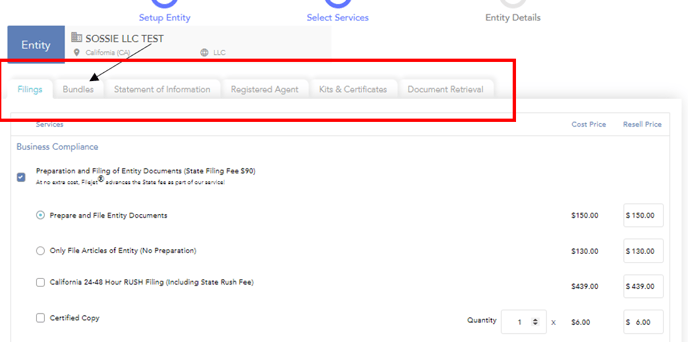
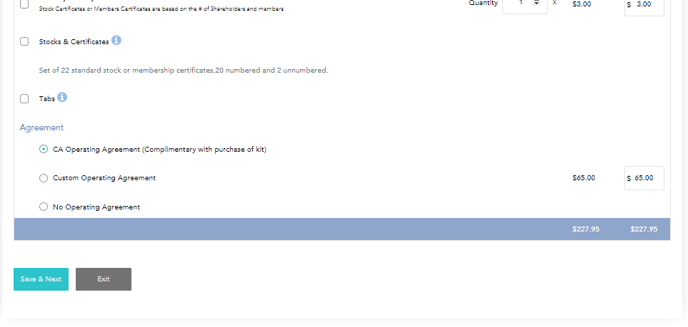
If you choose not to use your bundle, you can select service al la carte. Simple scroll through each tab and select the individual items. Once you have selected your items, locate the teal button in the bottom left corner “Save & Next”.
A pop up screen will appear of Recommended Services. You do not need any of the recommended services, simply click “No, Thanks to continue. 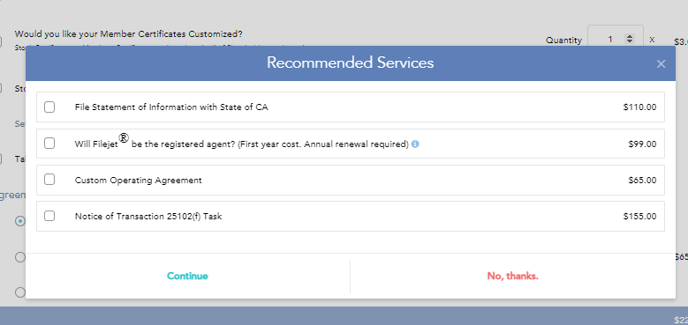
You should now be on the Entity Details page. There will be several tabs to fill out. This is the data that is submitted to the state. Please fill in all pertinent information on each tab. 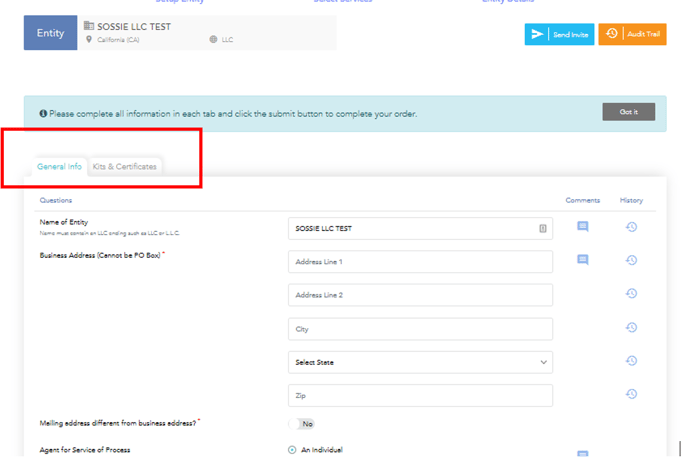
(Be sure to add your directors, members, managers, etc).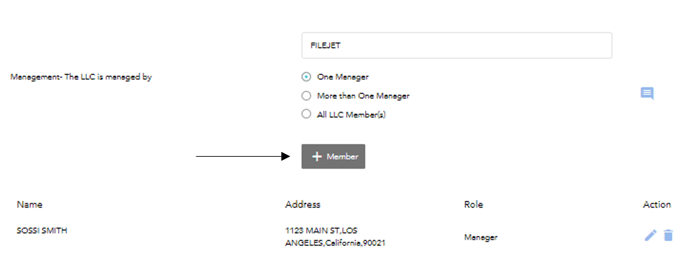
Located at the bottom of the General Information tab, you will see a section “Authorized Signer.” This name shall be the name of the incorporator, and Filejet will sign this name on your behalf to help expedite the process and get your filing submitted quickly. 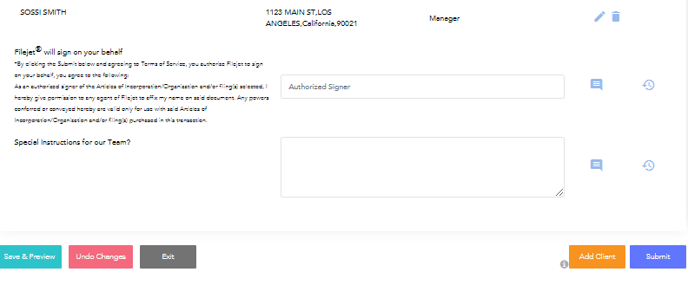
Once all your tabs have been completed, you can preview the drafted documents. Click on the “Save and Preview” button. 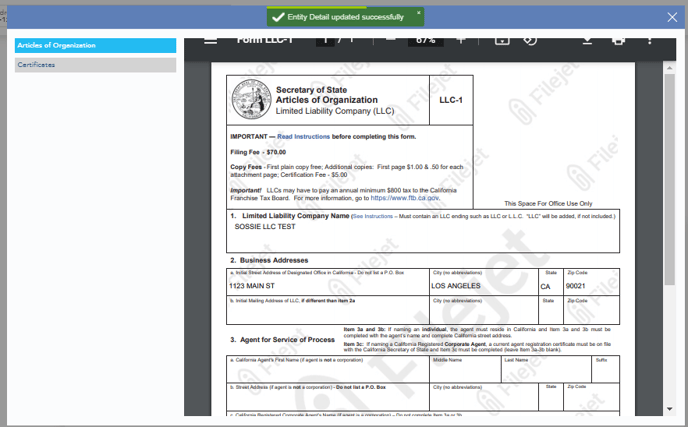
If everything is correct, you can proceed to the next step. Add a client if you like, but this is optional. Locate the blue submit button in the bottom right corner.
You will be directed to the Final submit payment screen. Here you have the option to pay with the company credit card, the client’s credit card or a guest (1 time use) credit card.
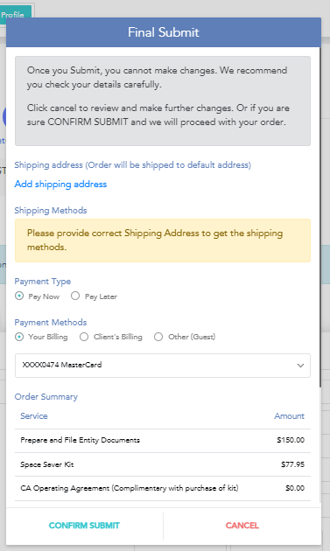
Be sure to add the shipping address. Once you submit the credit card and payment, Filejet receives your order instantly and begins processing your filing.