
Select the Create/Add Entity tile from the main Dashboard. Then:
- Select the Client that the entity belongs to
-
- Add State
- Type of Entity
- Name of Entity
- *Select Sub type if Corporation was selected Create New Entity
- Save and Next to move to next screen
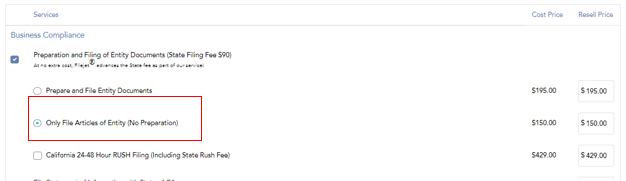
Select Only File Articles of Entity (No Preparation)
- Select other services such as Kit, Registered Agent etc to add to your order
- Click Save & Next to move to next screen
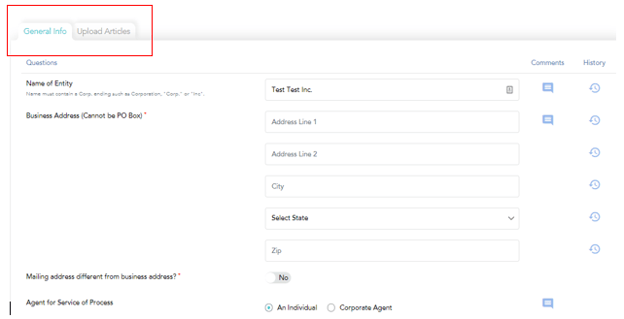
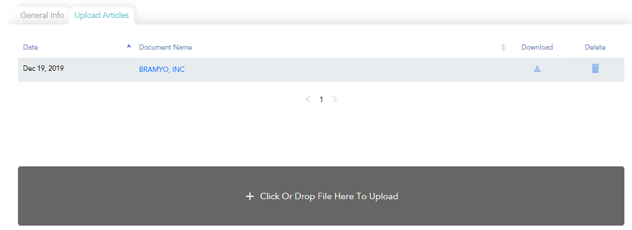
Add the Entity General Information in the data fields, once all info is added select the 2nd tab - UPLOAD ARTICLES
You can click or drag your prepared Articles for upload. Note: the forms must be in PDF format.
- Your Billing (your company card)
- Client’s Billing (self explanatory)
- Other (Guest user) if you invite outside users to your portal and they have rights to make payments, edit, etc.